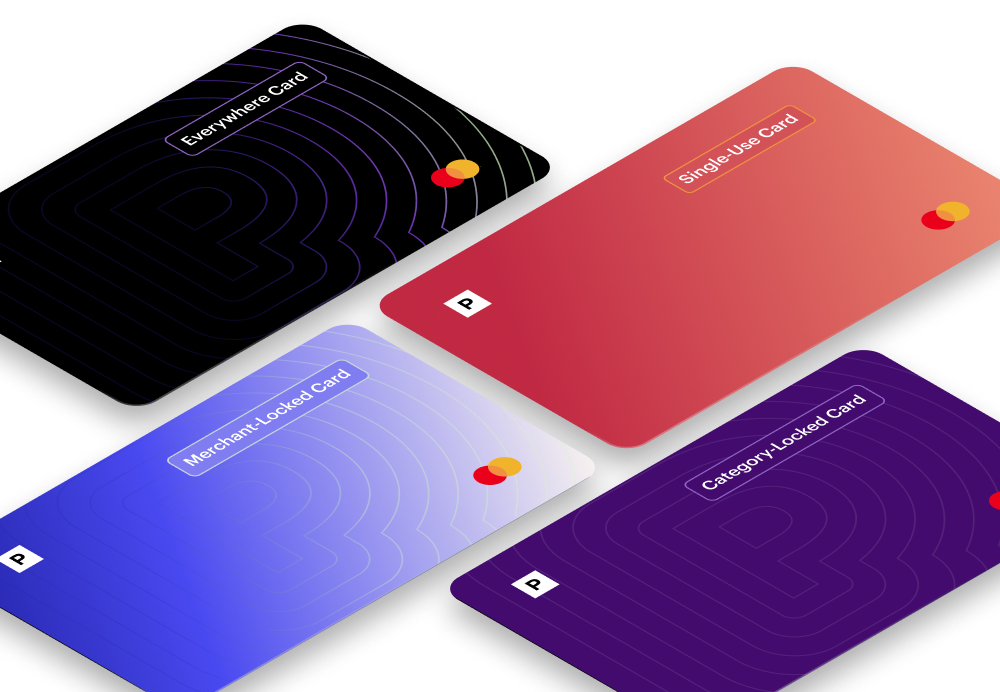
Merchant-Locked Cards
Merchant Cards lock to the first merchant you make a transaction at.
Single-Use Cards
Single-Use Cards close after the first transaction.
Category Cards
Category-Locked Cards come locked to a predefined merchant category.
Everywhere Cards
Everywhere Cards can be used in-person with mobile wallet compatibility, and don’t lock to a single merchant.
How To Remove Expired Subscriptions on an iPhone or iPad—User-Friendly Guide
Many reasons can cause you to consider parting ways with a subscription, from overall cost-cutting to changes in the quality of services.
When ending a subscription on an iPhone or iPad, you may still be able to view it in your Inactive section in the Settings app. This may not bother most users, but some may want to delete the subscription due to privacy reasons or, as one user pointed out, concerns about accidentally reactivating it.
To avoid unintentional resubscription, prevent accompanying charges, and learn how to remove expired subscriptions on an iPhone, iPad, and Mac computer, refer to this article. This guide will break down the process in detail and suggest some alternative solutions to consider. You’ll also discover useful tips for avoiding unwanted subscription costs when you want to cancel a service.
The content in this article is valid as of December 2023. You should visit the official Apple website or contact support for updates and region-specific information.
What Is an Expired Subscription?
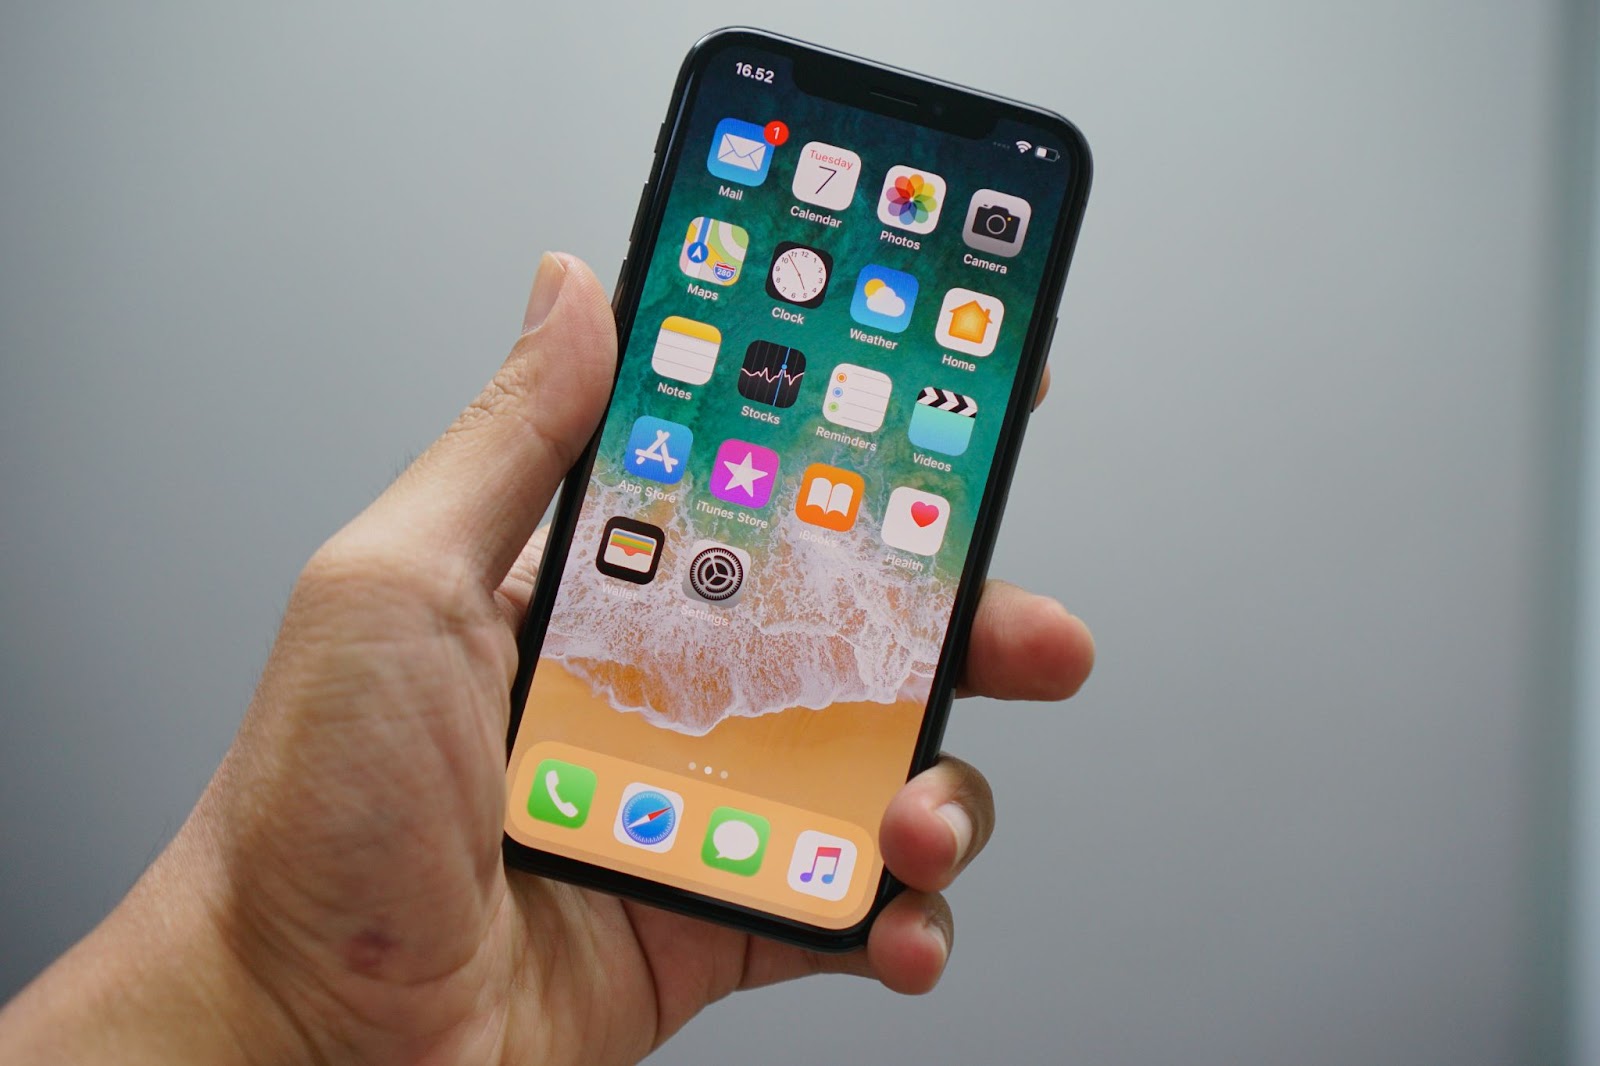
On an iPhone or iPad, expired subscriptions are those subscriptions that you used to have but chose to cancel or not renew. You can find them as follows:
- Go to your Settings.
- Tap your name/Apple ID profile.
- Tap Subscriptions.
- Scroll down to the Inactive section.
Below each subscription, you should be able to see the type of plan you bought and the date it expired or was canceled. You may also be able to reveal additional information about it by tapping the subscription.
Can You Remove Inactive Subscriptions on an iPhone or iPad?
The short answer is no—you can’t remove expired subscriptions on an iPhone or iPad. They’ll disappear from the Inactive list automatically a year after the expiration or cancellation date. If you’d like to see the company implement the option to clear your subscription history, consider sending a feature request to Apple.
While waiting for your request to be considered, you can create a new Apple ID or hide the subscription from your list of purchases. The following sections will explain how to apply these alternative solutions.

Alternative Solution—Creating a New Apple ID
To create a new Apple ID on an iPhone or iPad, you should:
- Launch the App Store and tap My Account.
- Tap Create New Apple ID. If you can’t find the option, sign out of iCloud first.
- Follow the on-screen directions—enter your email address and set a password.
- Provide your billing information if you want to, or select None, then tap Next.
- Verify your phone number, then tap Next.
- Verify your email address via the confirmation email sent to your address.
Mac users can open a new Apple account by taking these steps:
- Go to the Apple menu.
- Select System Settings or System Preferences.
- In the sidebar, click on Sign In or Sign In with your Apple ID.
- Select the option Create Apple ID.
- Follow the instructions to add your contact information and password.
- Provide your billing information or select None.
- Verify your email address via the confirmation email.
Alternative Solution—Hiding Inactive Subscriptions
You can hide the expired subscription from your purchase list and unhide it in case you decide to reactivate it. In the table below, you will find directions on how to hide and unhide your purchases on an iPhone, iPad, or Mac computer:

How To Protect Against Charges for Unwanted Subscriptions
The use of subscription services is at an all-time high—according to a 2022 Statista report, the average number of paid entertainment subscriptions per person was 12, with Millenials averaging a whopping 17. With so many subscriptions to keep track of, it is no wonder so many consumers find themselves still paying for services they barely use.
Unfortunately, subscription cancellation processes can sometimes be difficult by design.
Some companies today may resort to shady practices to retain you as a paying customer for as long as possible. For example, they may provide vague instructions or require you to contact customer support to confirm your cancellation, then fail to respond for days. If you’re not vigilant during each step of the process, you may end up covering the following month’s payment for a subscription you no longer want.
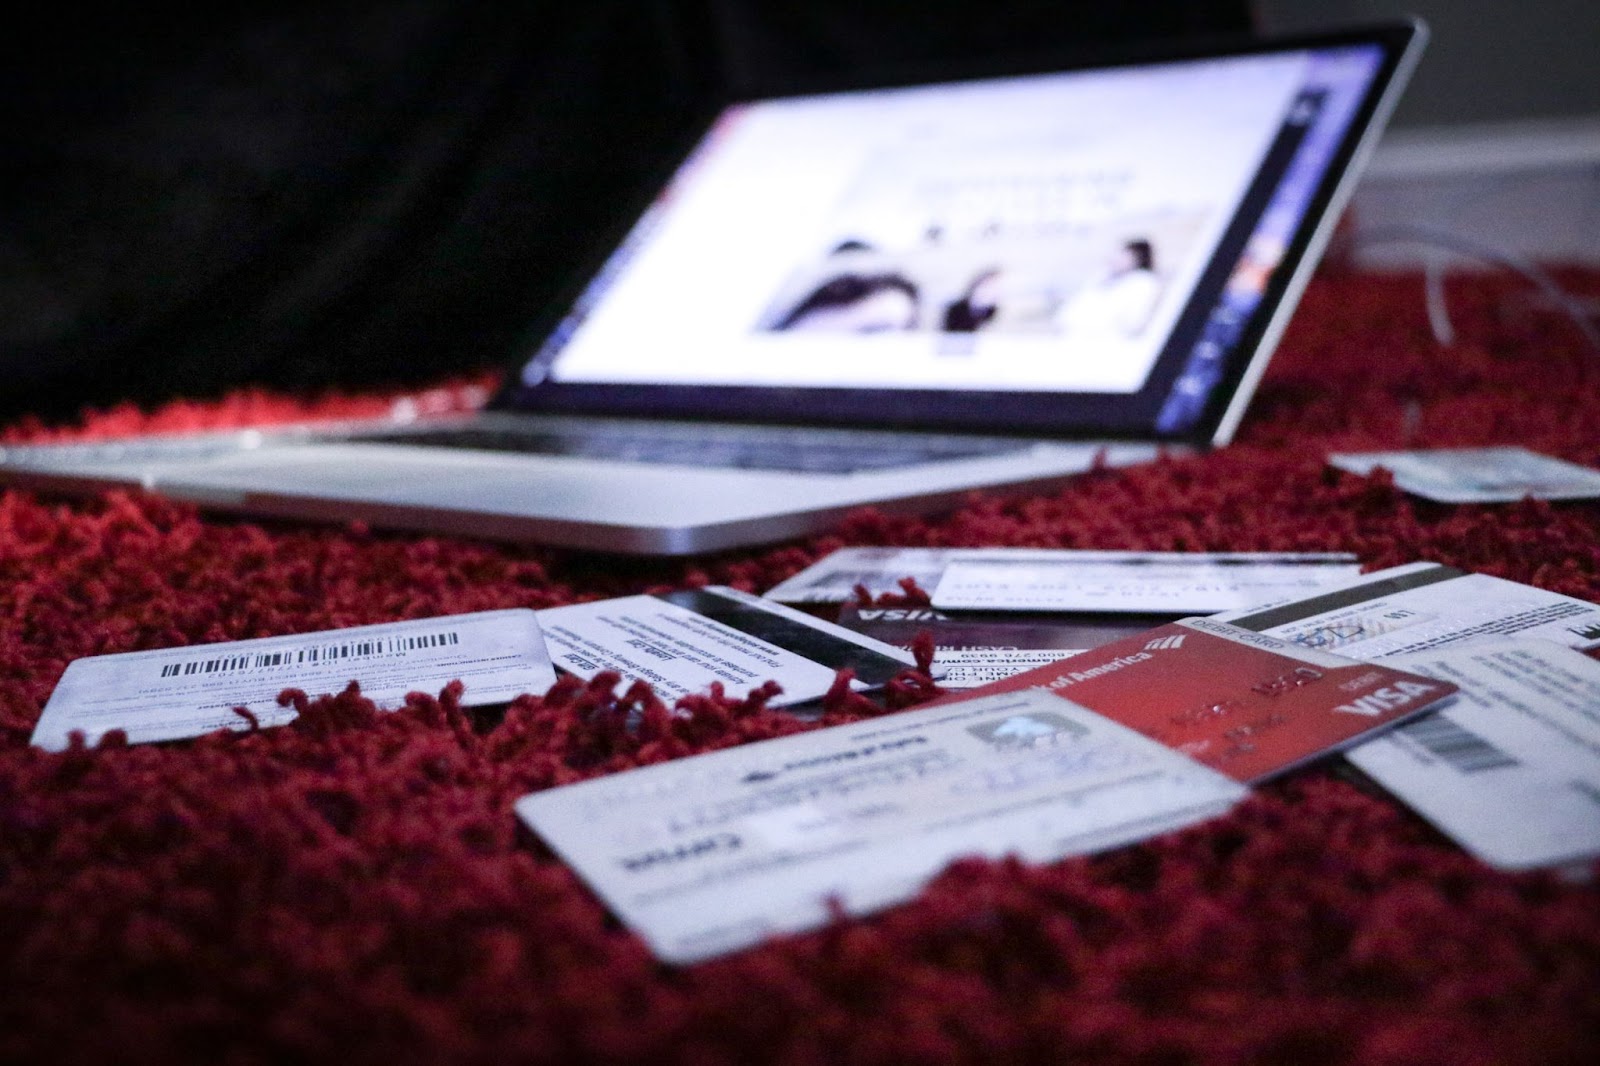
To avoid that, it’s advisable to purchase subscriptions with virtual cards, as they give you more control over your spending.
Why Virtual Cards Are the Preferred Payment Method for Subscriptions
Virtual cards are linked to an actual funding source but shield your financial information at checkout, protecting it from potential hackers who may infiltrate the merchant’s servers. However, online safety is not the only perk virtual cards offer. These cards typically also come with settings to help you manage your spending and protect against unwelcome charges.
Although many banks, such as American Express®, Capital One®, and Citi®, provide free virtual cards to their clients, a dedicated virtual card provider like Privacy offers greater convenience and control over your transactions.
Safeguard Your Funds With Privacy Virtual Cards
You can connect your debit card and bank account to Privacy and make online purchases without worrying about:
- Potential hackers looking to steal your data
- Merchants and subscription services overcharging you
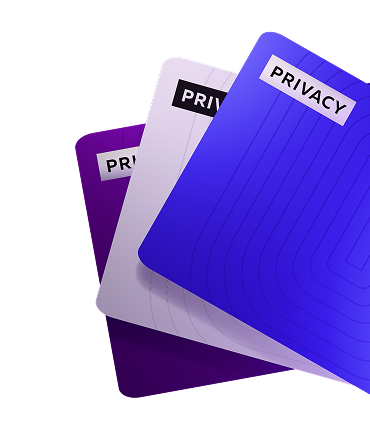
Privacy allows you to generate Single-Use, Merchant-Locked, or Category-Locked Cards. Single-Use Cards close minutes after you complete the first purchase. This makes the card ideal for transactions with merchants you don’t necessarily trust or don’t plan on shopping from again.
You can use Merchant-Locked Cards for your go-to merchants and subscription services, including entertainment sources such as Hulu, YouTubeTV, or Xbox Game Pass and delivery services like Amazon Prime and HelloFresh. Merchant-Locked Cards “lock” to the first merchant you purchase at.
Category-Locked Cards “lock” to one merchant category rather than a single merchant. You can use them to organize your budget within specific categories.
Privacy Cards also give you the ability to:
- Set spending limits—You can define spending limits for your virtual cards, and Privacy will block all exceeding transactions. This feature protects you from merchants and subscription services charging you more than you agreed.
- Pause and close—You can pause or close cards almost instantly and without impacting the underlying funding source. Privacy will decline all transactions on paused or closed cards, protecting you from unexpected charges while you’re going through a complicated cancellation process or after you complete it.
You can use your Privacy Cards at most merchants and websites that accept U.S. Visa® and Mastercard® payments, including subscription services like Kindle, Peacock, and Apple Music.
Additional Privacy Perks To Consider
The following table explores other benefits you unlock by opting for Privacy:
Get Your Privacy Virtual Cards Today
The Privacy setup process is simple and only requires you to:
- Register
- Enter the information needed to verify your identity
- Provide a funding source (bank account or debit card)
- Request and create Privacy Cards
As far as monthly plans are concerned, Privacy offers the Personal plan, which is free for domestic transactions. It includes up to 12 new virtual cards a month, Single-Use and Merchant-Locked Cards, access to the browser extension and mobile app, and all the spending controls. Opting for Plus ($5/month), Pro ($10/month), or Premium ($25/month) will get you more virtual cards and perks such as:
- No foreign transaction fees
- Priority support
- Live Chat
- Shared Cards
- Card Notes
- 1% cashback on eligible purchases (totaling up to $4,500 a month)