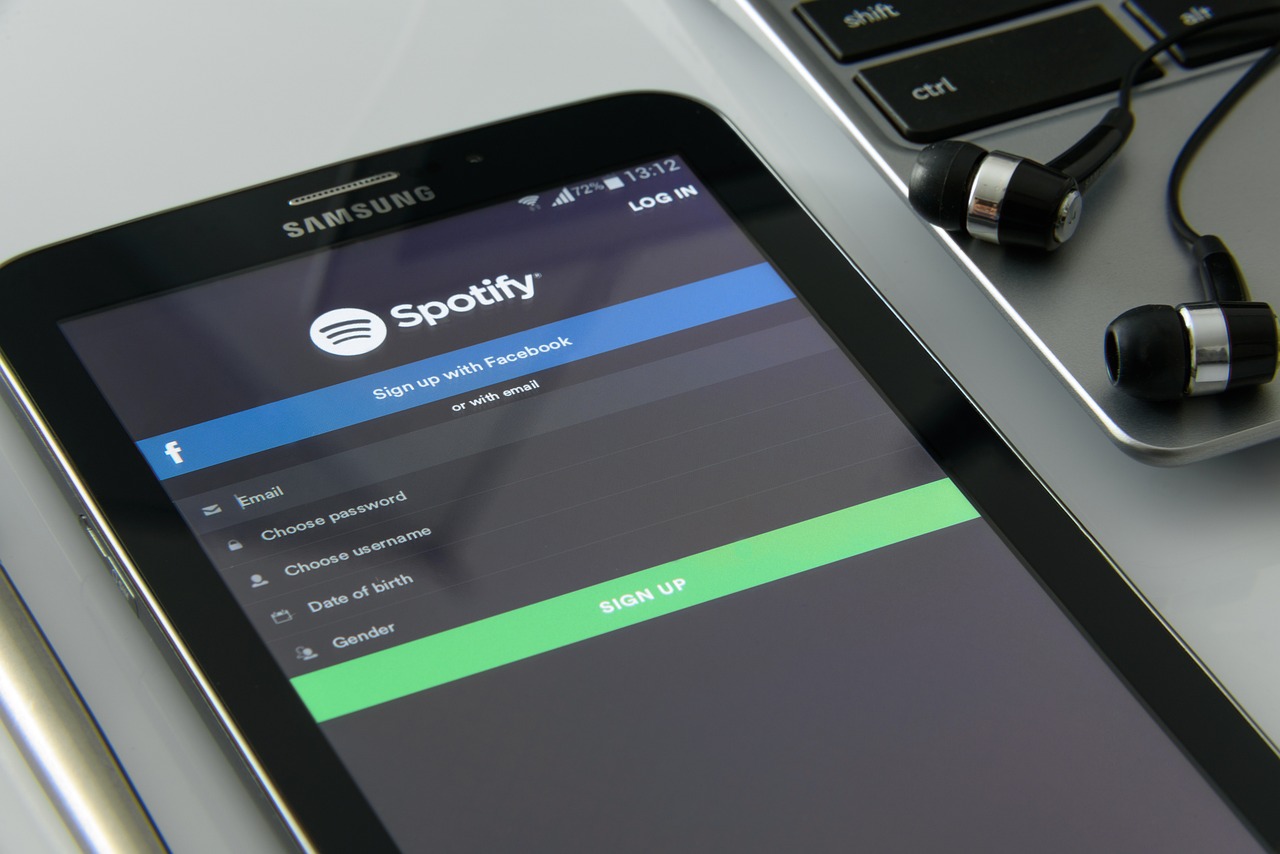
How To Cancel Spotify Premium—The Process Explained
With over 100 million tracks in its library, Spotify is one of the most prominent music streaming platforms today. Its Premium plans offer benefits such as ad-free listening and higher audio quality. However, some users may not be pleased with their Premium subscription or want to try out a different music streaming service.
If you feel like it’s time to move on from your subscription, learn how to cancel Spotify Premium in this comprehensive guide. Below, this outline will provide detailed instructions for canceling the service on different devices, as well as tips on protecting your funds from unwarranted subscription costs.
Note that the content in this article is valid as of January 2025. For the most current information, visit Spotify’s official website or app or get in touch with customer support.
How To Cancel Your Spotify Premium Subscription—A Step-by-Step Tutorial
To discontinue your Spotify Premium subscription, follow these steps:
- Log into your Spotify account in your browser.
- Go to the Manage your plan section.
- Click on Change plan.
- Scroll down to Cancel Spotify.
- Select the Cancel Premium option.
Another way to cancel Spotify Premium is by completing a cancellation PDF form and sending it to Spotify’s support.
If you’re a plan manager and share the Premium subscription with other users, you should let them know about the cancellation so they can make alternative arrangements. If you’re a member, you can only leave the plan and remove your account but not stop the subscription.
Canceling a Spotify Premium Subscription You Purchased Externally
In the following table, you can learn how to cancel Spotify Premium on Android devices and computers via the Google Play Store:
If you want to return to one of Spotify’s plans, you’ll need to cancel Spotify Premium through the partner first.
Can You Pause Spotify Premium?
Currently, there’s no way to pause a Spotify Premium subscription. If you want to take a break from the service, the best you can do is cancel your subscription to Spotify and start it again when you wish to return.
How To Delete a Spotify Account
If you want to go beyond canceling your Spotify Premium and permanently delete your Spotify account and remove your data from the platform, complete these steps:
- Go to the Spotify account page on your mobile or computer browser.
- Tap or click Support.
- Navigate to the Account help section.
- Select the Account settings tab.
- Tap or click on Closing your account and deleting your data.
- Choose the correct link depending on whether you’re closing a Premium or free account.
- Select Close account on the next page.
- Review the information displayed, and if you’re sure, check the I Understand button, then click on Continue.
- Click on the final link in your email to confirm and close your account.
After you close your account, Spotify will email you a link if you wish to reactivate your subscription within seven days. Once the seven days lapse, you can't reactivate your account, and your data will be deleted.
What To Do if You Run Into Issues During Spotify Premium Subscription Cancellation
If you can’t cancel your Spotify Premium subscription, contact customer support via social media. It’s important to do so before the billing cycle ends, as you will be charged for the following month otherwise.
While cancellation issues are often the result of a bug, some companies make the process deliberately difficult to keep you subscribed. For example, these companies may require you to cancel in person or call customer service to complete the process, keeping you on hold for an unreasonable time. In some cases, you may end up paying for an additional month of services, and you are often unable to get a refund.
The next time you purchase a subscription, be it a radio broadcasting service like SiriusXM or a video streaming platform like Paramount Plus, NFL Plus, and HBO Max, use virtual cards to prevent unjustified charges in case you decide to opt out. Virtual cards act as middlemen—they’re connected to a funding source but mask your real financial information at checkout.
Banks such as American Express® and Capital One® offer virtual cards, but an independent virtual card provider like Privacy provides more than security—it gives you advanced card settings to restrict how much you can be charged while the subscription cancellation process is underway.

Shield Your Transactions With Privacy Virtual Cards
You can connect your bank account or debit card to Privacy and generate multiple virtual cards for different uses. Privacy Virtual Cards not only protect your financial information from potential hackers but also give you more control over your budget.
Privacy allows you to create Single-Use Cards for one-time purchases on unfamiliar websites or Merchant-Locked Cards, which lock to a single vendor and are ideal for your subscriptions, such as DashPass, Peloton, and Discord. You can also generate Category-Locked Cards, which “tie” to a specified merchant category, such as travel, digital goods, or groceries.
You can manage your payments further by:
- Setting spending limits—Define how much your cards can be charged, and Privacy will decline exceeding transactions.
- Pausing and closing cards—Pause or close your cards in a few clicks without affecting the funding source. Privacy will block all charge attempts on a paused or closed card.
These features are especially useful when it comes to terminating subscriptions. Although you still need to go through the company’s cancellation procedure, these card controls can help you avoid unwanted charges in the meantime.
Besides securing payments, Privacy makes them fast and seamless. The Privacy browser extension fills out card numbers at checkout, so you never have to memorize them. You can get the extension for Chrome, Firefox, Safari, and Edge, as well as Safari iOS if you own an iPhone or iPad. To create and use your virtual cards on the go, install the Privacy mobile app on your iOS or Android device. You’ll also benefit from the 1Password integration that lets you access and manage all your passwords and Privacy Cards from the password manager’s browser extension.
How To Get Your Privacy Virtual Cards
Become a Privacy user in only four steps:
- Create an account
- Fill out the information needed to verify your identity
- Provide a funding source (debit card or bank account)
- Request Privacy Virtual Cards
The Personal Plan is free for domestic purchases and comes with 12 virtual cards monthly and all the above-listed features. Privacy has three other plans, Plus ($5/month), Pro ($10/month), and Premium ($25), which give you additional benefits like:
- More virtual cards (up to 60 a month)
- Category-Locked Cards
- Shared Cards
- Card Notes
- No foreign transaction fees
- Priority support
