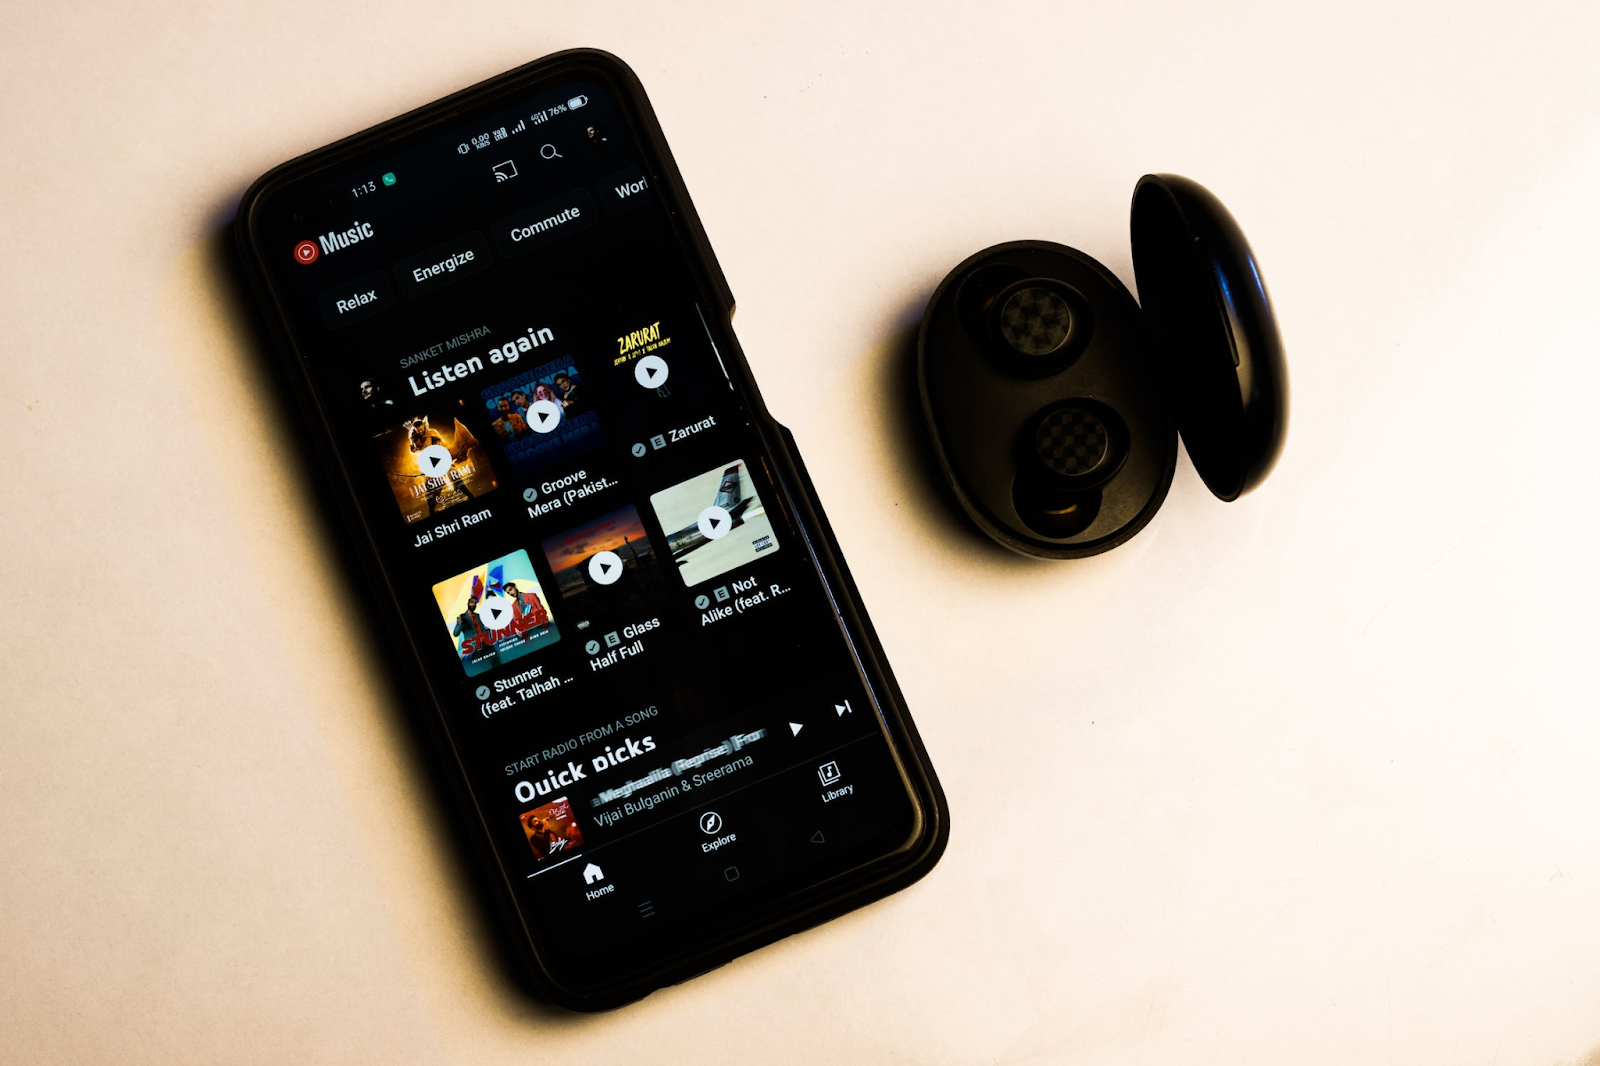
How To Cancel Apple Music—The Process Explained
Apple Music is a subscription-based music streaming service that offers over 100 million songs, unlimited ad-free listening, and offline playback. However, there are many other similar services on the market, such as Spotify and YouTube Music, and some users may decide to try an alternative platform.
If you have decided to end your subscription to the platform, read this practical guide on how to cancel Apple Music. This tutorial will detail the exact steps to follow whether you subscribed via the web, mobile device, or computer and explain how to avoid accidental charges when canceling your subscription.
Note that the content in this article is valid as of December 2023. Visit the official Apple Music website or contact customer support for the most recent information.

How To Cancel Apple Music via the Apple Music Website
If you want to discontinue your Apple Music subscription via the website, follow these steps:
- Go to the Apple Music website.
- Sign in with your Apple ID and password if you're not automatically logged in.
- Click on your profile icon in the top-right corner of the page.
- Select Settings from the drop-down menu.
- Scroll down and click on the Manage button located under Subscriptions.
- Click on Cancel Subscription in the Edit Your Subscription window and confirm your decision.
Keep in mind that you should cancel your subscription at least 24 hours before your next billing cycle to avoid being charged for another month.
How To Cancel Apple Music Subscription on a Mobile Device
You can cancel your Apple Music subscription on an iOS or Android mobile device by completing the steps in the table below:
How To Cancel Apple Music Subscription on PC
Alternatively, you can cancel your Apple Music membership on a PC—Mac or Windows. The steps for canceling the subscription on each device differ slightly, as shown in the table below:
How Do You Cancel Apple Music on Apple TV?
It's also possible to discontinue your Apple Music subscription on an Apple TV and Apple TV 4K. Here are the steps you need to follow:
- Navigate to the Settings app on your Apple TV.
- Select Users and Accounts and click your account name.
- Go to Subscriptions and choose Apple Music Membership.
- Click Cancel Subscription and follow the prompts to confirm your decision.

What Happens When You Cancel Apple Music?
Once you terminate your Apple Music subscription, the automatic charges will stop, and you'll lose access to the service. Your saved music, liked playlists, and download library will remain in your account for 30 days before they are permanently deleted. After cancellation, you will only have access to the songs you've purchased via iTunes.
You should also note that your music collections and playlists will not return if you decide to resubscribe after canceling.
Why Not All Subscription Cancellations Go Smoothly
While canceling Apple Music seems fairly straightforward, some users have allegedly experienced issues that made the process less than smooth. For example, one user claimed they were charged even after seemingly canceling the service.
While this may have been an isolated incident, some subscription services may deliberately make you jump through hoops before you manage to cancel your subscription. These companies use various tactics to keep you subscribed and charge you for as long as possible, including:
- Hiding or making it difficult to find the "Cancel Subscription" button
- Requiring you to call the company’s customer support or make an in-person visit to cancel your subscription
- Making you go through a maze of prompts to complete the process
While you may not be able to escape the company’s complicated cancellation policies, you can avoid any charges that might happen during or after completing the cancellation process by using Privacy Virtual Cards when signing up for subscriptions.
A virtual card replaces your payment card details with random card numbers at checkout, protecting your financial data from potential hackers. Besides security, virtual cards from providers such as Privacy also give you more control over your online spending with advanced customization and card control features.

Avoid Unexpected Charges With Privacy Virtual Cards
You can link a debit card or bank account to Privacy and create virtual cards for different purposes. Privacy Virtual Cards can be used at any merchant that accepts U.S. Visa® and Mastercard® card payments, including streaming services like Amazon Music, Kindle Unlimited, and Apple TV, or gaming platforms such as PlayStation Plus or Xbox Game Pass.
With Privacy, you can choose between two types of virtual cards—learn all about them in the table below:
You can exercise greater control over your subscription payments with your Privacy Cards by:
- Pausing or closing them—You can pause or close Privacy Cards whenever you want without affecting the linked funding source, and Privacy will decline all subsequent charge attempts. This feature is helpful when you want to stop subscriptions because you’ll be able to avoid any unwanted charges during the cancellation process or after completing it.
- Setting spending limits—When you set a spending limit on your Merchant-Locked Cards, Privacy will decline all charges that exceed the preset limit, including accidental double charges, additional fees, or unexpected price changes.
Privacy—Convenience, Control, and Peace of Mind
As a Privacy user, you can also enjoy fast and seamless transactions by installing the Privacy Browser Extension. The extension auto-populates your virtual card details at checkout, so you don't have to memorize and manually enter your card information. The extension is available for the following browsers:
The Privacy mobile app for Android and iOS allows you to generate and manage your virtual cards on the go and receive real-time push notifications that alert you when your card is charged or declined.
Generate Privacy Virtual Cards Today
Privacy's signup process is quick and seamless—you only need to:
- Create an account
- Provide the information needed to verify your identity
- Link your bank account or debit card
- Request and create your Privacy Virtual Cards
You can choose from three plans, including a Personal plan that is free for domestic transactions and comes with 12 virtual cards per month plus the features described above. If your needs grow, you can choose one of the paid plans (Pro at $10/month or Premium at $25/month) and enjoy additional benefits, including:
- More virtual cards (up to 60 cards per month)
- Fee-free foreign transactions
- 1% cashback on eligible purchases (totaling up to $4,500 monthly)
