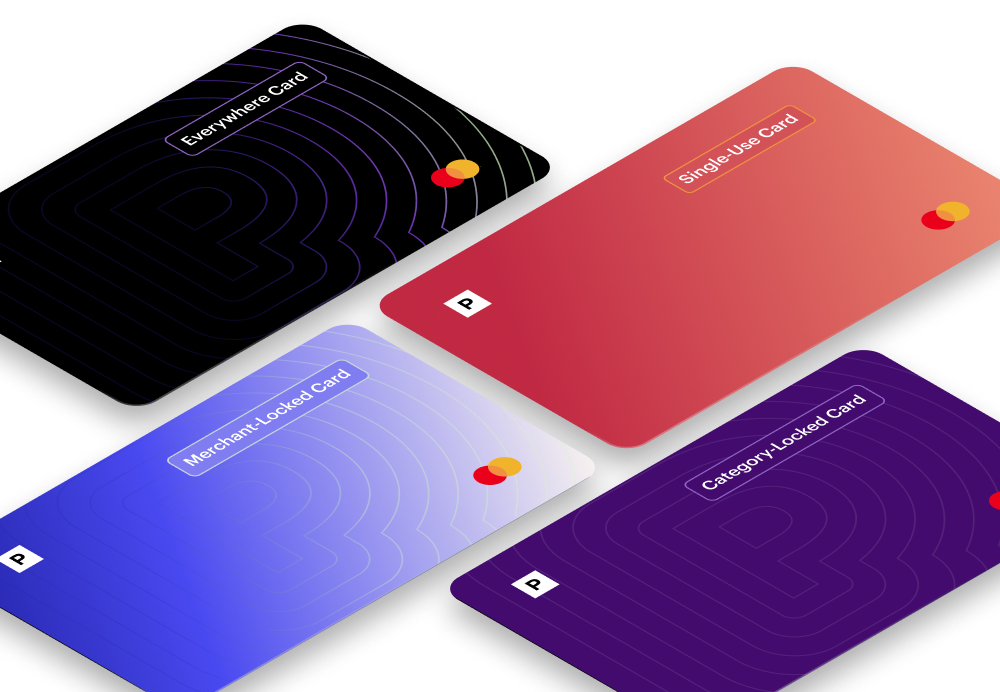
Merchant-Locked Cards
Merchant Cards lock to the first merchant you make a transaction at.
Single-Use Cards
Single-Use Cards close after the first transaction.
Category Cards
Category-Locked Cards come locked to a predefined merchant category.
Everywhere Cards
Everywhere Cards can be used in-person with mobile wallet compatibility, and don’t lock to a single merchant.
How To Cancel a Roku Subscription and Stop Unwanted Charges
Roku is an American-based company that produces one of the world’s most popular TV streaming devices, with over 75 million active accounts. The platform lets you stream content from numerous sources, including Hulu, Netflix, and many live TV channels.
While Roku makes managing various subscriptions for these services simpler, it may not be a solution for everyone. Some users might have experienced technical difficulties, can't find any content they like, or have other reasons for wanting to opt out of their subscriptions.
If you also want to cancel a Roku subscription, this guide will explain the cancellation process in detail and show you how to protect yourself from unwanted subscription charges.
The information about Roku-related subscriptions is valid as of December 2023. For up-to-date information, visit the official Roku website or contact the company’s customer support.
How To Cancel Subscriptions on Roku
There are three ways to cancel a subscription on Roku:
- From your computer
- On your phone
- Via your TV
Canceling Roku Subscriptions From Your Computer
If you’ve signed up for a service through your Roku account, you must cancel the subscription via Roku. In case you signed up via another streaming service provider, you’ll have to go to that service provider’s website to complete the cancellation process. It’s advisable to cancel a few days before your next billing date to avoid new charges.

The table below provides instructions for canceling a subscription through the Roku website or your streaming service provider: